 Alice Rose
Chicken Kiev is the classic dinner party dish of the 1970s that has been unfairly demoted to the freezer aisle, and a homemade one is a very different thing.
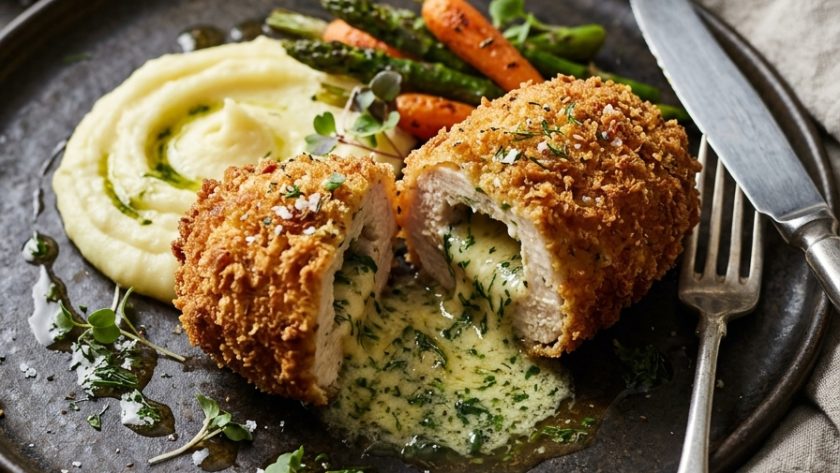
A crisp, golden crumb gives way to tender chicken and a flood of molten garlic and parsley butter in the centre, and when it works, it’s one of the most satisfying things you can cut into.
The only real challenge is stopping the butter leaking out in the oven, and it’s easily solved by freezing the butter first, sealing the chicken properly and double-coating the crumb.
Why Freezing the Garlic Butter and Double-Crumbing Stop the Leaks
The classic Kiev failure is a puddle of melted butter in the baking tray and a dry, empty chicken breast, which happens because the butter melts and escapes before the chicken has finished cooking.
Freezing the garlic butter into solid logs first means it takes much longer to melt, so it stays contained inside the chicken for most of the cooking time.
Sealing the chicken tightly around the butter, with no gaps, and then coating it twice in flour, egg and breadcrumbs, creates a thick, sturdy shell that holds everything in.
The double layer of crumb is also what gives the Kiev its characteristically thick, crunchy, golden coating. Chilling the crumbed parcels before baking helps the coating set firmly around the chicken.
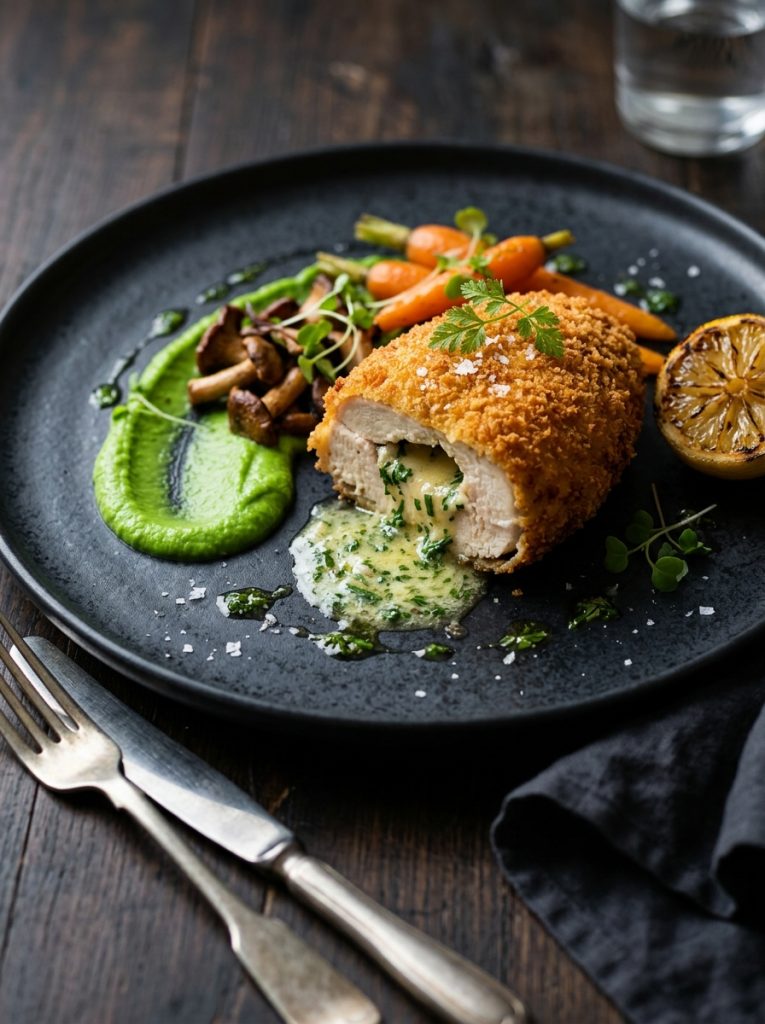
Ingredients for Gordon Ramsay Chicken Kiev
For the Garlic Butter
- 100g unsalted butter, softened
- 3 garlic cloves, finely grated
- 2 tbsp fresh parsley, finely chopped
- Zest of 1/2 lemon
- Pinch of salt
For the Chicken
- 4 skinless chicken breasts
- 60g plain flour
- 2 large eggs, beaten
- 150g panko breadcrumbs
- 2 tbsp olive oil
- Salt and freshly ground black pepper
How to Make Gordon Ramsay Chicken Kiev — Step by Step
Step 1 — Make the Garlic Butter
Beat the butter with the garlic, parsley, lemon zest and salt until well combined. Spoon onto cling film, shape into a log about 2cm wide, wrap tightly, and freeze for at least 1 hour, until solid.
Step 2 — Prepare the Chicken
Cut a deep pocket horizontally into the side of each chicken breast, taking care not to cut all the way through. Alternatively, flatten the breasts gently between baking paper and use them to wrap around the butter.
Step 3 — Fill
Slice the frozen butter into 4 pieces. Place a piece in each pocket, pressing the opening firmly closed so the butter is completely sealed in. Season the outside with salt and pepper.
Step 4 — Chill
Place the stuffed chicken in the fridge for 20 minutes.
Step 5 — Crumb Twice
Roll each breast in flour, then beaten egg, then breadcrumbs. Dip again in the egg, and again in the breadcrumbs, pressing firmly to coat completely.
Step 6 — Chill Again
Place on a lined tray and chill for at least 30 minutes, until the coating is firm.
Step 7 — Bake
Preheat the oven to 200°C / 180°C fan / Gas 6. Drizzle the Kievs with the olive oil. Bake for 25–30 minutes, until the crumb is deep golden and the chicken reaches 75°C in the centre.
Step 8 — Rest
Rest for 5 minutes, which lets the butter settle slightly before cutting.
Step 9 — Serve
Serve immediately, cutting in at the table to release the molten garlic butter.
My Top Tips for the Best Gordon Ramsay Chicken Kiev
Freeze the garlic butter until solid, as this stops it melting and leaking out before the chicken is cooked.
Seal the opening completely, pressing the chicken firmly around the butter with no gaps.
Double-coat the Kievs in flour, egg and breadcrumbs, as the thick crumb layer holds in the butter and gives the best crunch.
Chill the crumbed Kievs for at least 30 minutes before baking, so the coating sets firmly.
Rest the cooked Kievs for 5 minutes, so the butter thickens slightly and doesn’t gush out the moment it’s cut.
Serving Suggestions
Serve with buttery mashed potatoes or fries, and a simple green vegetable such as peas or green beans. The garlic butter sauce is delicious spooned over the potatoes.
How to Store Gordon Ramsay Chicken Kiev
In the fridge: Store cooked Kievs in an airtight container for up to 2 days. Reheat in a 180°C oven for 15–20 minutes. Uncooked, crumbed Kievs can be stored for up to 24 hours.
In the freezer: Uncooked, crumbed Kievs freeze very well for up to 3 months. Bake from frozen at 180°C for 40–45 minutes, until cooked through.
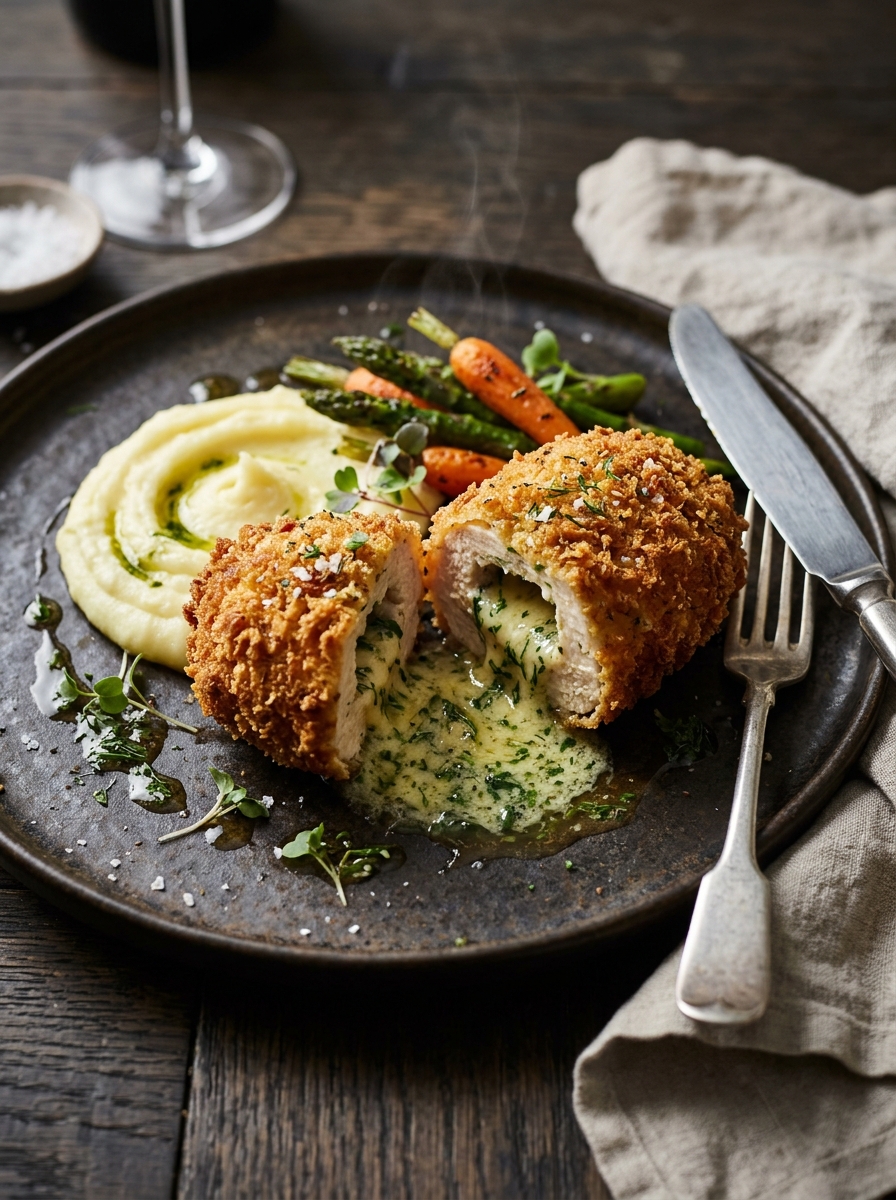
Gordon Ramsay Chicken Kiev Recipe
Ingredients
Method
- Mix garlic butter, shape into a log, freeze 1 hour.
- Cut a pocket in each chicken breast.
- Insert butter, seal firmly, season.
- Chill 20 minutes.
- Coat twice in flour, egg and breadcrumbs.
- Chill 30 minutes.
- Bake at 200°C / 180°C fan / Gas 6 for 25–30 minutes to 75°C.
- Rest 5 minutes, serve.
Notes
Frequently Asked Questions About Gordon Ramsay Chicken Kiev
Why did my garlic butter leak out?
This usually means the butter wasn’t frozen, the chicken wasn’t sealed well, or the crumb was too thin. Freeze the butter, seal firmly, and double-crumb.
Can I fry chicken Kiev instead of baking?
Yes — shallow or deep fry at 170°C for 10–12 minutes, then finish in a 180°C oven for 10 minutes, though baking is simpler and reduces the risk of leaks.
Can I make them ahead of time?
Yes — assemble and crumb the Kievs up to a day ahead and keep them in the fridge, or freeze them for up to 3 months, baking them fresh.
What’s the best chicken cut for Kiev?
Skinless chicken breast is traditional. Look for large, thick breasts, which are easier to pocket and hold the butter well.