 Alice Rose
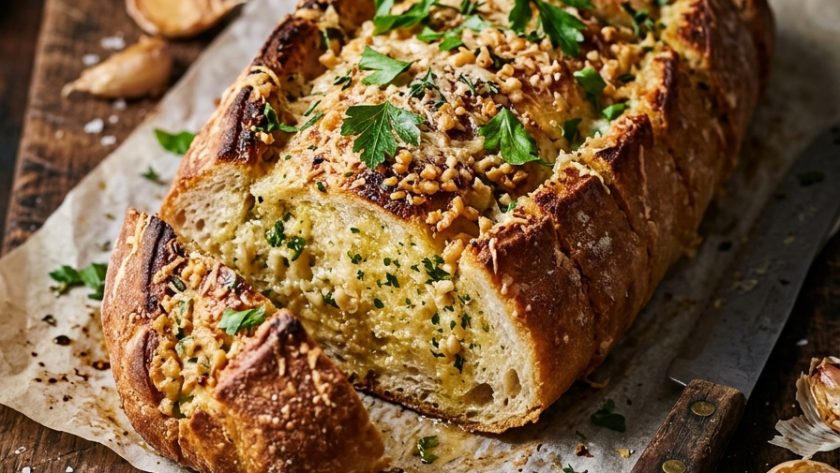
Garlic bread is one of the great pleasures of a pasta night, and it’s also one of the most commonly ruined, with a bread that’s either soggy and greasy, or hard as a rock with a harsh, raw garlic bite.
The answer is a two-stage bake: first wrapped in foil to heat the bread through and melt the butter into every crevice, then opened up to crisp the crust.
A combination of roasted garlic and fresh garlic gives you a deep, sweet, mellow base plus a little punch, so the flavour is rounded rather than sharp.
Why Baking in Foil First and Using Two Kinds of Garlic Give Better Garlic Bread
Garlic bread baked uncovered from the start tends to dry out, with the butter running off the surface and burning in the tray, while the inside stays stodgy.
Wrapping it in foil for the first stage traps steam, which heats the bread through and keeps the middle soft, and lets the butter soak in properly rather than simply sitting on top.
Opening the foil for the last few minutes lets the exposed surface crisp and turn golden. Using both roasted and raw garlic gives layers of flavour: roasting garlic whole turns it soft, sweet and mellow, almost jammy, while a little fresh garlic adds a bright, sharp edge.
Together, they make the flavour more complex and rounded than raw garlic alone can ever achieve.
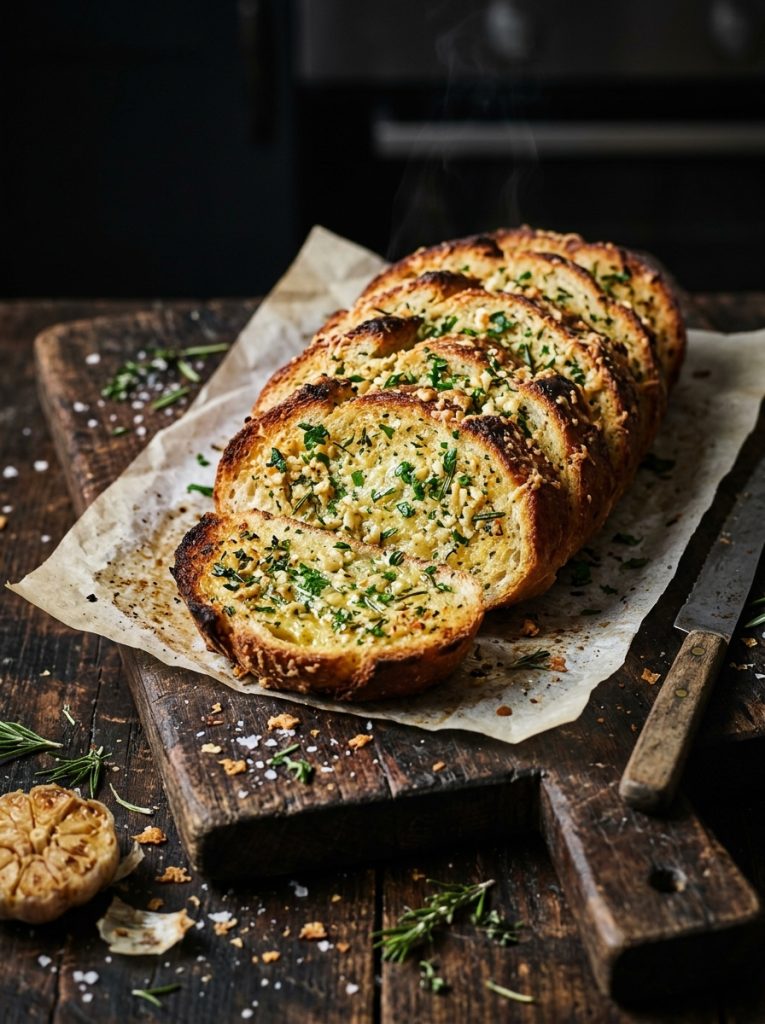
Ingredients for Gordon Ramsay Garlic Bread
- 1 large baguette, or 2 small ones
- 1 whole bulb garlic (for roasting)
- 1 tsp olive oil
- 125g unsalted butter, very soft
- 2 fresh garlic cloves, finely grated
- 3 tbsp fresh flat-leaf parsley, finely chopped
- 1/2 tsp flaky sea salt
- 30g Parmesan, finely grated (optional)
- Freshly ground black pepper
How to Make Gordon Ramsay Garlic Bread — Step by Step
Step 1 — Roast the Garlic
Preheat the oven to 200°C / 180°C fan / Gas 6. Slice the top off the garlic bulb to expose the cloves, drizzle with the olive oil, wrap in foil and roast for 30–35 minutes, until soft and golden. Cool slightly.
Step 2 — Make the Garlic Butter
Squeeze the roasted cloves from their skins into a bowl and mash. Add the soft butter, grated fresh garlic, parsley, salt, Parmesan if using, and pepper. Mix until smooth.
Step 3 — Slice the Bread
Cut the baguette at 2cm intervals, slicing almost all the way through, but leaving the base attached.
Step 4 — Fill the Bread
Spread the garlic butter generously between each slice, and over the top of the loaf.
Step 5 — Wrap in Foil
Wrap the loaf loosely but fully in foil, and place on a baking tray.
Step 6 — Bake Covered
Bake for 12 minutes, until heated through and the butter has melted.
Step 7 — Crisp Uncovered
Open the foil to expose the top, and bake for a further 5–8 minutes, until the crust is golden and crisp.
Step 8 — Serve
Serve immediately, hot, and tear apart at the table.
My Top Tips for the Best Gordon Ramsay Garlic Bread
Use both roasted and raw garlic, as the roasted gives sweetness and depth while the raw gives a bright edge.
Bake covered first, then uncovered, so the bread heats through and stays soft inside while the crust still crisps.
Use very soft butter and mix thoroughly, since it spreads far more easily and gets right into the cuts.
Slice almost all the way through, leaving the base attached, so the butter reaches every part of the loaf and it holds together.
Serve immediately, as garlic bread is at its best hot, and goes chewy and tough as it cools.
Serving Suggestions
Serve alongside lasagne, spaghetti bolognese or a bowl of soup. It also makes an excellent base for a cheesy version, topped with mozzarella for the last few minutes of baking.
How to Store Gordon Ramsay Garlic Bread
In the fridge: Store leftover garlic bread wrapped in foil in the fridge for up to 2 days. Reheat in a 180°C oven, wrapped, for 10 minutes, then unwrapped for 3–5 minutes.
In the freezer: Freezes very well for up to 3 months. Assemble and wrap uncooked, freeze, and bake from frozen, adding 10 minutes to the covered stage.
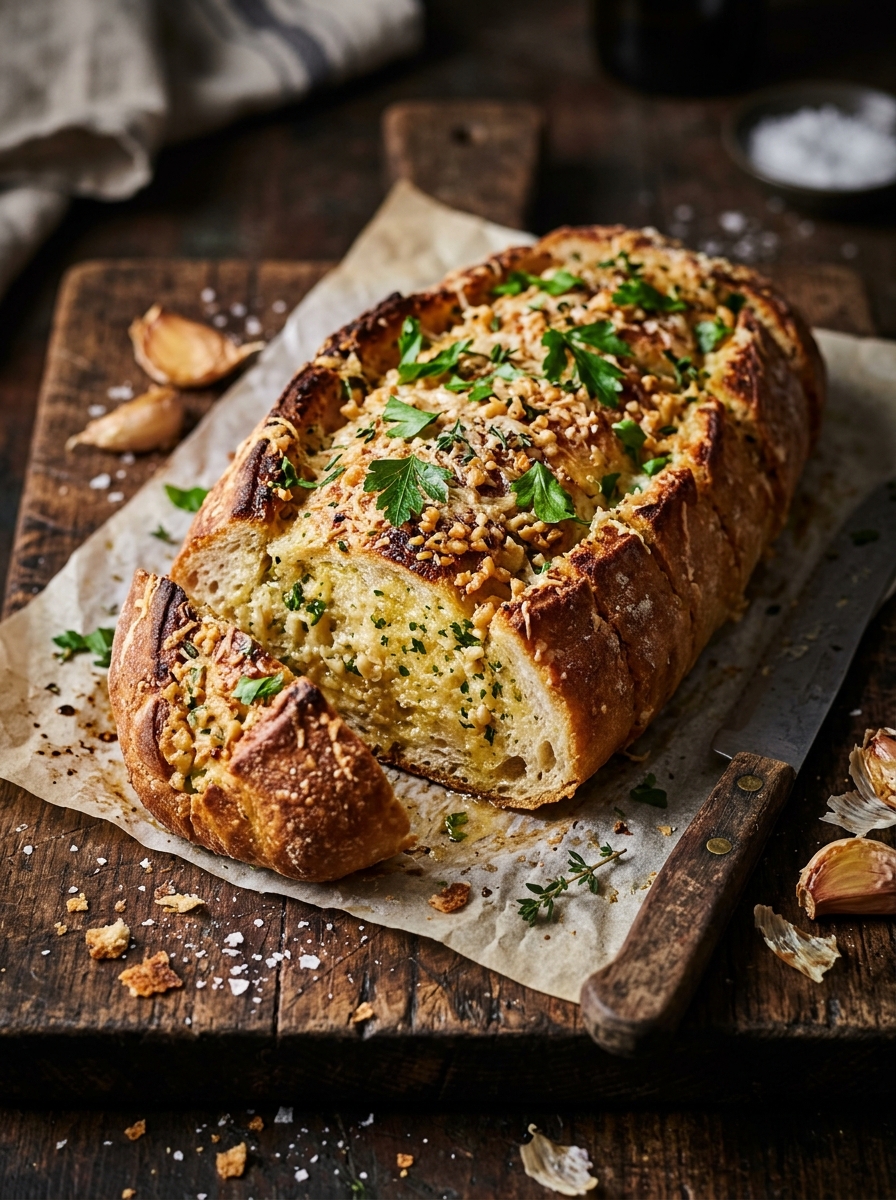
Gordon Ramsay Garlic Bread Recipe
Ingredients
Method
- Roast garlic bulb with oil in foil at 200°C / 180°C fan / Gas 6 for 30–35 minutes.
- Mash roasted garlic with butter, fresh garlic, parsley, salt, Parmesan and pepper.
- Slice baguette almost through at 2cm intervals.
- Spread butter between slices and on top.
- Wrap in foil.
- Bake 12 minutes.
- Open foil, bake 5–8 minutes until crisp.
- Serve hot.
Notes
Frequently Asked Questions About Gordon Ramsay Garlic Bread
Why is my garlic bread soggy?
This usually means too much butter, or the bread wasn’t uncovered long enough to crisp up. Use the amount in the recipe and finish uncovered.
Can I make garlic bread ahead of time?
Yes — assemble and wrap it up to a day ahead and keep it in the fridge, or freeze it for up to 3 months, baking when needed.
Can I use a different type of bread?
Yes — ciabatta, a French stick or even sliced sourdough all work, though baguette gives the best balance of crust and soft crumb.
How do I stop garlic bread tasting harsh?
Roasting some of the garlic mellows the flavour, and using fresh garlic sparingly keeps it from becoming overwhelming or bitter.